Continuing on from my last post about running Xilinx Vivado on an Apple M1 Pro machine, lets look into the older brother of Vivado, ISE.
This builds upon the past article so please start by reading and following that one first!
In preparation for install, the following additional packages are required:
sudo apt-get install libncurses5:amd64 libsm6:amd64 libxmu6:amd64 libxm4:amd64 libxpm4:amd64 libstdc++5:amd64
After unpacking the ISE installer for Linux, the xsetup file will need to be modified, similar to how it was done for Vivado. Look for the following block:
# run setup executable depending on different platform
if [ "$platform" = "Linux" ]
then
    machineType=`uname -m`; # Get the machine type
    if [ "$machineType" = "x86_64" ]
    then
  # 64 bit
And replace the x86_64 platform with aarch64:
# run setup executable depending on different platform
if [ "$platform" = "Linux" ]
then
    machineType=`uname -m`; # Get the machine type
    if [ "$machineType" = "aarch64" ]
    then
  # 64 bit
Launch xsetup and you'll now be able to install ISE (I used version 14.7) in your VM.
Once installation is complete, you'll need to add the following symlinks for ISE to run:
cd /lib/x86_64-linux-gnu/
sudo ln -s /opt/Xilinx/14.7/ISE_DS/ISE/lib/lin64/libXLicClientMgrFNP.so /lib/x86_64-linux-gnu/
sudo ln -s /usr/lib/x86_64-linux-gnu/libXpm.so.4 libXp.so.6
Note, the first shared library is found within the ISE installation directory so you may need to tweak the command depending on where you installed it.
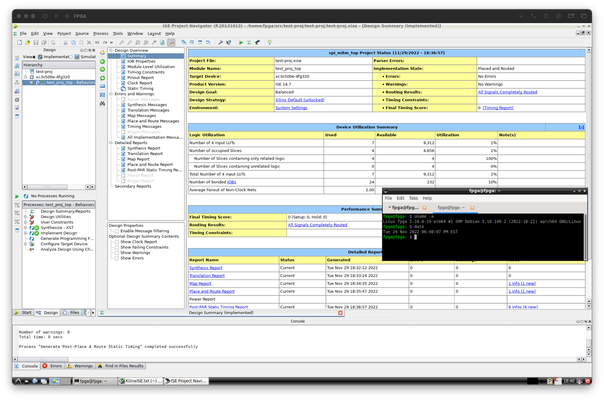
You're now able to launch ISE and start compiling projects!
cd /opt/Xilinx/14.7/ISE_DS
source settings64.sh
ise
I haven't played much with any of the in-circuit debugging tools so YMMV with how you use it. I find that the initial launch of ISE and associated tools can be very slow to see the first window, then it's relatively useful after that.
